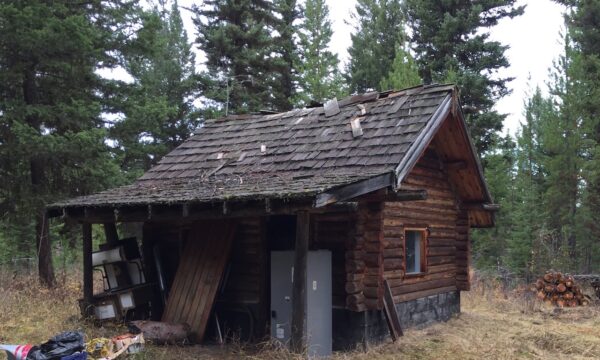
Replacing a roof on an off-grid cabin isn’t just another weekend project — it’s about protecting your shelter from the elements.
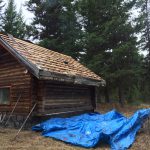
When we started tearing off the old roof on our small cabin, we quickly realized two things:
Packrats had moved in.
The original roof had been installed incorrectly.
Here’s exactly what we did — and what we learned — while replacing the roof.
Before starting any roof replacement project, make sure you have proper fall protection equipment in place. Working on a roof — especially in remote areas — requires extra caution.
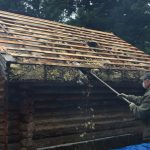
Step 1: Remove the Old Roofing Materials
The first step in replacing a roof is simple — everything has to come off. Thick leather work gloves are a must when tearing off shingles and handling old insulation — especially if rodents have been present.
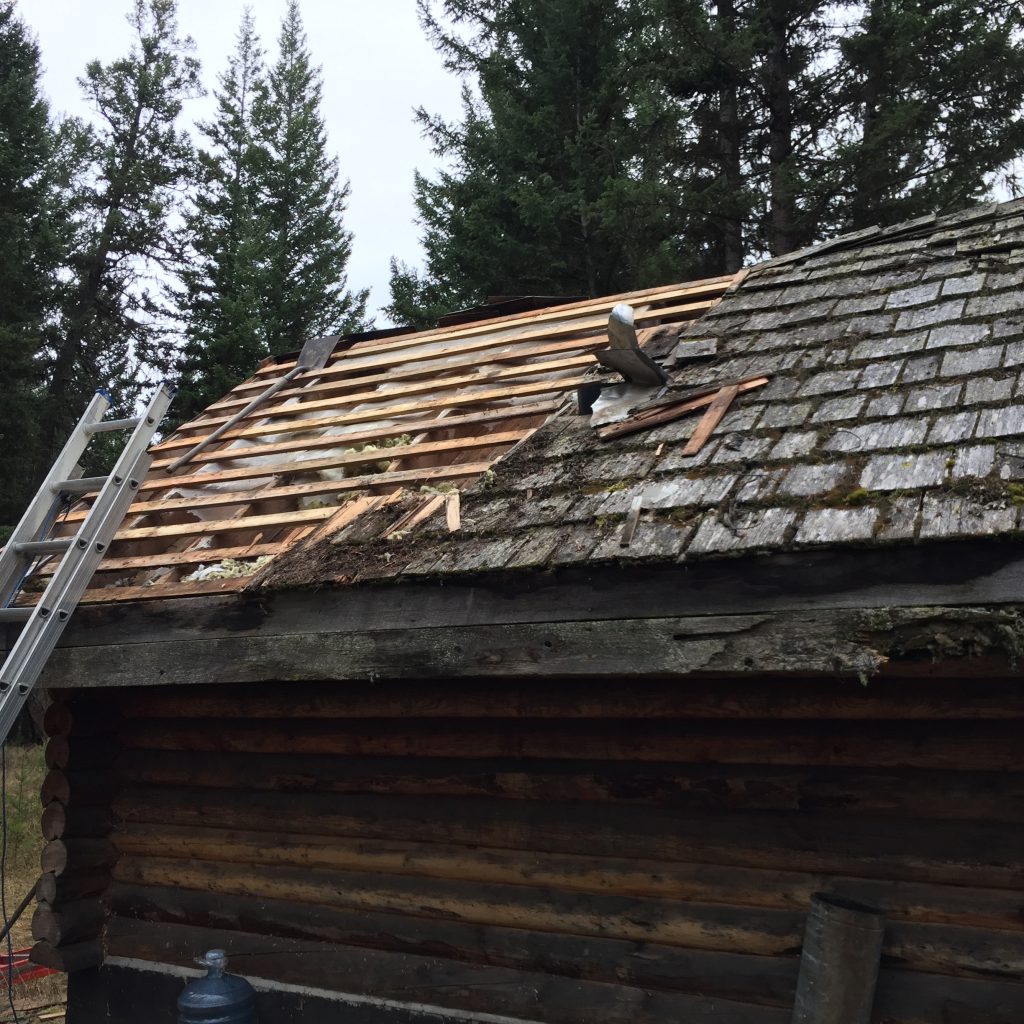
We:
- Ripped off all the old shingles
- Removed the incorrectly installed plastic vapor barrier
- Pulled out the old insulation
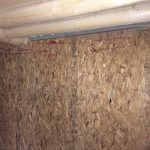
- Inspected the roof decking underneath
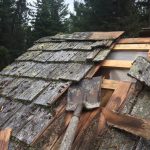
If you’re removing old shingles, a long-handled roofing tear-off shovel makes the job significantly faster and easier on your back compared to using a standard pry bar.
When removing the shingles, we piled them aside to reuse later for small birdhouse projects with the grandchildren.
Off-grid living means wasting as little as possible.

Discovering the Roofing Mistake
As we tore everything off, we discovered the original builder had placed the poly vapor barrier between the roof decking and the shingles.
That’s not correct.
A vapor barrier should be installed on the warm side of the insulation — not under the shingles.
Installing it incorrectly can trap moisture and cause long-term damage.
If you’re learning how to replace a roof properly, understanding vapor barrier placement is critical.
Dealing With Old Insulation (and Packrats)
When removing rodent-damaged insulation, wearing a proper respirator mask is important to avoid inhaling dust and contaminants.
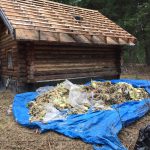
Packrats had completely destroyed the insulation.
It was packed down at the bottom and left thin at the top — offering little real insulation value.
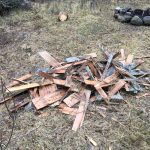
To remove it cleanly, we:
- Laid a large tarp under the roof area
- Removed the lower boards
- Let the old insulation fall directly onto the tarp
- Bagged and disposed of everything
If you’ve ever had packrats, you’ll know they leave behind a strong odor.
That smell needed to be dealt with before rebuilding.
Cleaning and Disinfecting the Roof Structure
Once everything was stripped down, we scrubbed the exposed roof decking and framing with Pine-Sol to remove residue and contamination.
After cleaning, we covered the roof with tarps and let it dry.
When we returned the next day, the structure looked solid — just one small area required deeper cleaning.
For that, I made a natural disinfectant spray using:
- Tea tree essential oil
- Lavender essential oil
- Water
Tea tree oil is known for its strong disinfecting properties, and we prefer natural solutions whenever possible.
We sprayed the area thoroughly, covered the roof again, and allowed it to air out for several days.
By the time we returned, the smell was completely gone.
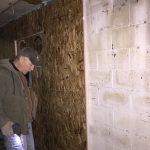
Reusing Materials for the Small Cabin
One advantage of having a main cabin under renovation is material reuse.
In the basement of the main cabin, we removed:
- OSB wall panels
- Foam insulation
Since we wanted to inspect the foundation properly, those materials were coming off anyway.
Rather than waste them, we reused the foam insulation as a vapor barrier layer for the small cabin roof.
Off-grid building often means:
- Repurposing materials
- Reducing waste
- Making smart use of what you already have
Preparing for the New Roof
Once:
- The insulation was removed
- The structure cleaned
- The odor eliminated
- Materials gathered
We were ready for the next stage — installing the new metal roof.
👉 Continue reading: Installing the Metal Roof
What We Learned About Replacing a Cabin Roof
Replacing a roof isn’t just about new shingles.
It’s about:
- Proper vapor barrier placement
- Removing contaminated insulation
- Inspecting structural integrity
- Cleaning thoroughly
- Allowing materials to dry properly
- Installing components in the correct order
For off-grid cabins especially, moisture control is critical.
A poorly installed roof can create long-term structural issues that are expensive and difficult to repair — especially in remote locations.
Taking the time to do it right makes all the difference
Disclosure: This article is for informational purposes only and reflects personal experience and research related to emergency preparedness. Product recommendations, if included, are intended to help readers make informed decisions.
Updated March 2026
© 2016 – 2026, Teresa. All rights reserved.
I always remember when one of my roofs collapsed on my property and it was nothing but a headache!
To be honest I do not have the expertise you seem to have or the knowledge to do something about it myself.
Some of the roof caved in on its own, but some of it of course remained so some of the steps here would have proved helpful at the time!
Can I ask, are most roof setups pretty much the same when it comes to design and maintenance?
I am far from an expert, but I would think roof design would come in various shapes and sizes.
Thanks
Chris
Hi Chris,
This roof system is done with roof joist. Other systems are done with trusses. When using trusses the roof would be vented thru the soffits, gable ends or with a whirly vent on the top of the roof
Hi,
It is good that you are going to change the old roof. I like how methodically you are doing all these changes on your cabin. When you finish it will be really clean and neat.
This is something that we have to do on our house, but we will be faced with removing three or four layers of the old roof before we start putting new one. The previous owner never changed first layer when installing the new one, very funny.
I would like to see how everything looks like when you finish your cabin. I also hope that I can get updates through my email so that I can follow your work.
Good luck to you!
Lora
Btw, I am following you on FB. 🙂
Thanks 🙂