Building a simple root cellar is one of the smartest ways to keep your garden harvest fresh for months—without needing electricity or extra appliances.
I’ve built one myself, and if you have some basic DIY skills and a bit of space, it’s a lot easier than you might think. Once it’s done, it’s one of those projects that keeps paying you back every single winter.
Here’s exactly how to build your own root cellar, along with practical tips I’ve learned along the way.
 What Is a Root Cellar and Why Use One?
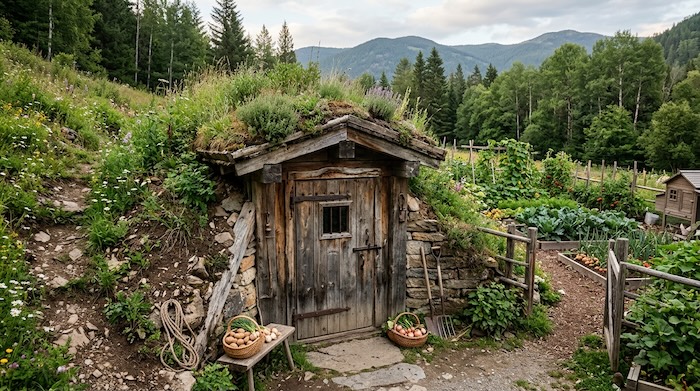
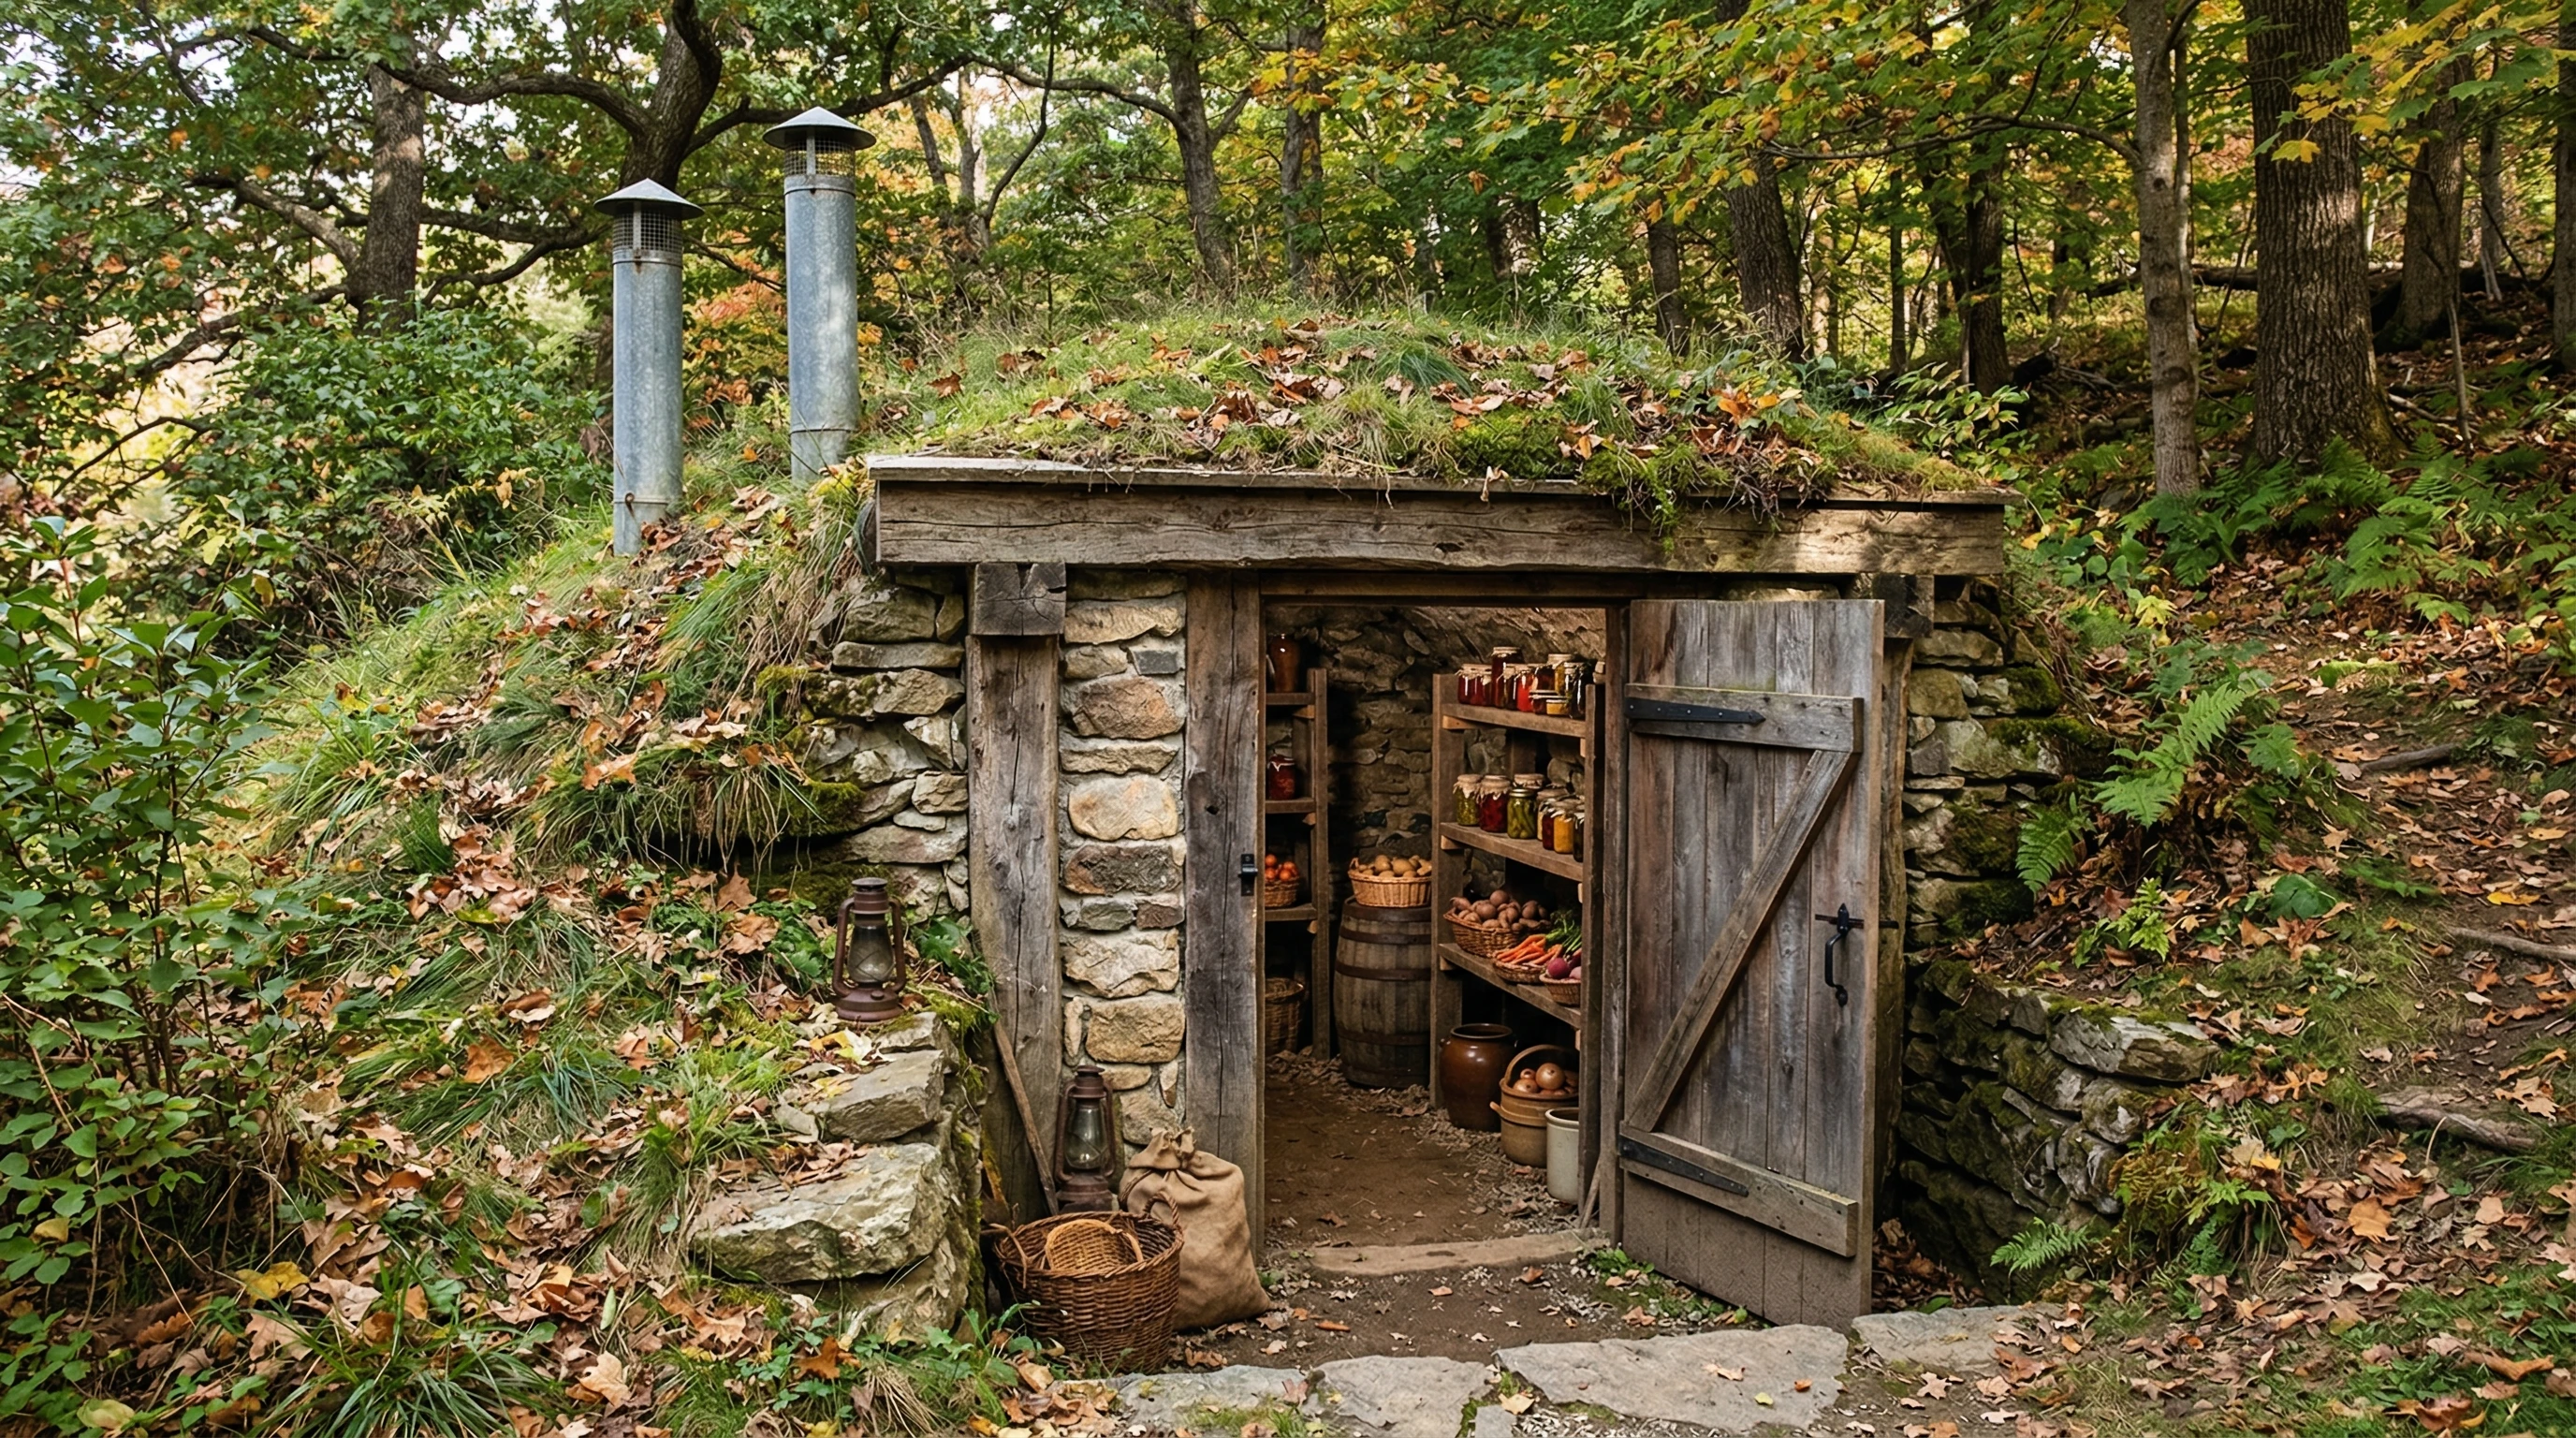
A root cellar is an underground or partially buried space that uses the earth’s natural cooling and humidity to store food.
It’s perfect for keeping things like:
- Potatoes
- Carrots
- Beets
- Turnips
- Apples
- Canned goods
The ground naturally holds temperatures between 32°F and 40°F and humidity around 85–95%, which is exactly what most root crops need.
If you’re planning what to store, don’t miss:
Best Foods for Root Cellar Storage
For a bigger picture approach, also read:
Long-Term Food Storage Without Refrigeration
Different Types of Root Cellars (Choose What Works Best)
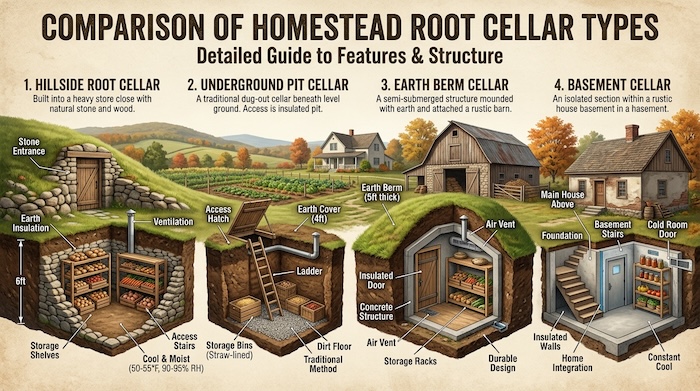
Not all root cellars are built the same. The best design depends on your land, climate, and how much you want to store.
1. Hillside Root Cellar (Best Option)
- Built directly into a slope
- Naturally insulated by earth
- Most stable temperature
2. Underground Pit Cellar
- Dug straight down into flat ground
- Covered with a roof and soil
- Needs good drainage
3. Above-Ground Earth Berm Cellar
- Built above ground, then covered with soil
- Great if digging deep isn’t possible
- Requires extra insulation
4. Basement Root Cellar
- Sectioned-off area in a basement
- Easiest to build
- Less stable temperature
💡 If you’re working on a full homestead setup, this ties in well with:
Off-Grid Living: A Practical Guide to Self-Sufficient Cabin Life
Choosing the Best Location for Your Root Cellar
Location is one of the most important parts of building a root cellar.
Look for:
- Well-drained soil (avoid low, wet areas)
- A gentle slope or hillside (ideal setup)
- A spot close enough for easy winter access
Sandy or loamy soil is easiest to work with and drains well. Heavy clay can hold too much moisture and lead to problems later.
If you don’t have a hillside, don’t worry—a flat-ground cellar with added insulation works just fine.
This also connects with your water planning: Off-Grid Water Filtration Systems
Basic Tools and Materials You’ll Need
For a simple build, here’s what you’ll want on hand:
- Shovel and pickaxe
- Wheelbarrow
- Gravel
- Pressure-treated lumber or concrete blocks
- Plastic sheeting (moisture barrier)
- PVC pipes (for ventilation)
- Optional insulation (foam board or straw)
A second set of hands helps too, especially when moving materials or setting walls.
Items That Make This Build Easier
These are worth having:
- Heavy-duty digging shovel
- Strong wheelbarrow for hauling gravel
- Durable pickaxe or mattock
Step-by-Step: How to Build a Root Cellar
1. Plan Your Size
A 6×8 foot cellar about 6 feet high is a great starting point for most households.
Adjust based on how much food you plan to store each year.
2. Dig the Hole
Dig at least 30 inches below your frost line (deeper is better for stable temperatures).
💡 Tip: If water tends to collect in your area, consider adding a simple drainage pipe beneath your gravel base.
3. Build the Floor
- Add a thick layer of gravel for drainage
- Optional: use pallets for airflow under storage bins
- Install wire mesh beneath gravel to keep rodents out
Use hardware cloth or heavy-duty mesh under your gravel to stop rodents.
4. Build the Walls
You can use:
- Concrete blocks (long-lasting and strong)
- Pressure-treated wood
- Logs (if properly sealed)
Make sure corners are reinforced so the walls can handle the pressure of surrounding soil.
5. Install Ventilation Pipes
Good airflow is critical.
Install two PVC pipes:
- One low to bring fresh air in
- One high to let warm air out
This simple setup helps prevent mold and keeps your produce fresh longer.
Use standard PVC pipe and fittings for airflow.
6. Add a Moisture Barrier
Line the outside of your walls with plastic sheeting to keep groundwater from seeping in.
This step makes a huge difference, especially in wetter areas.
7. Build and Cover the Roof
- Frame the roof with strong lumber or concrete
- Add insulation (foam board or straw)
- Cover with soil for natural temperature control
8. Install the Door
Use a solid, insulated door with a tight seal.
💡 A double-door setup works even better—it helps keep cold air in and improves temperature stability.
Common Problems to Watch For
Moisture & Flooding
This is the most common issue.
Fix it with:
- Gravel flooring
- Proper drainage
- A moisture barrier
Poor Ventilation
Without airflow, you’ll get:
- Mold
- Bad smells
- Faster spoilage
Rodents
Root vegetables attract critters.
Prevent problems by:
- Installing mesh under the floor
- Using a well-sealed door
Tips for Storing Food in Your Root Cellar
Not all foods store the same way.
- Root vegetables → cold and humid
- Onions and garlic → cooler and drier
- Apples → store separately (they release gas that causes sprouting)
Don’t wash vegetables before storing—just brush off the dirt.
If you’re storing a large harvest, label bins with dates so you can rotate older food first.
Planning your garden around storage? Read:
Vegetable Garden Layout Plans
Monitor Conditions (Very Important)
A digital thermometer + hygrometer helps you stay in the ideal range.
This small tool can save your entire harvest.
Seasonal Root Cellar Maintenance Checklist
This is something most people skip—but it makes a huge difference.
Fall (Before Storage)
- Clean and air out cellar
- Check vents for blockages
- Inspect for leaks or damp spots
Winter
- Monitor temperature and humidity
- Remove spoiled produce immediately
Spring
- Empty remaining food
- Deep clean surfaces
- Check structure for damage
Summer
- Leave vents open to dry out
- Repair anything before next season
Common Questions About Root Cellars
Do I need a permit?
It depends on your area. Some places don’t require one, but it’s always worth checking first.
How deep should it be?
At least 30 inches below frost line, but deeper is better if possible.
What if my land is flat?
You can build an earth-berm root cellar by digging down and piling soil around the outside.
How do I control humidity?
- Too dry → add a bucket of water
- Too damp → increase ventilation
Final Thoughts
After using my root cellar for a full season, I had fresh vegetables, homemade sauces, and preserved food well into winter—with far fewer trips to the store.
It’s a simple, practical project that fits perfectly with off-grid living and self-sufficiency.
And once it’s built, you’ll wonder why you didn’t do it sooner.
Content on this site is for informational purposes only and reflects personal experience and research. Off-grid living laws and conditions vary by location, so readers should always verify local regulations before making decisions. Some links may be affiliate links, which help support this site at no additional cost to you.
updated April 2025
© 2026, Teresa. All rights reserved.