Our Partially Underground Greenhouse Project
For years, I’ve dreamed of having a partially underground greenhouse, and now it’s finally happening. This project has been in the planning stages for a long time, and watching it come to life beside our garden has been incredibly rewarding.
We chose to build the greenhouse partially underground to help regulate temperature naturally—keeping it cooler in summer and warmer during the colder months. For off-grid living and year-round growing, this makes a huge difference.
Breaking Ground
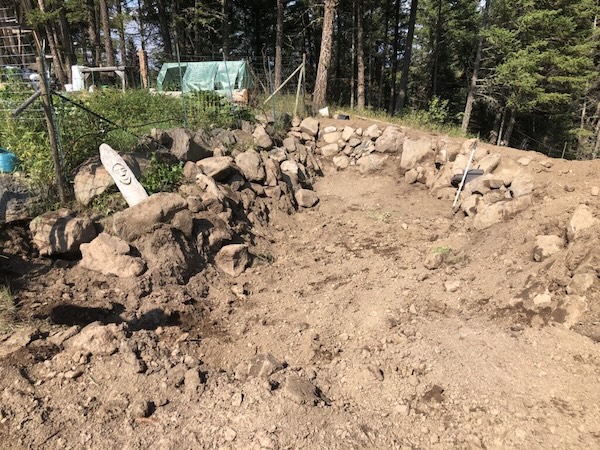
It all began with digging the hole. The greenhouse is being built right next to the garden, and once it’s complete, there will be a door connecting the garden directly to the greenhouse, making it easy to move between the two spaces.
We’re also planning to bring the grapevine that currently runs along our garden fence inside the greenhouse once the wall on that side goes up. Our cooler northern climate has slowed its growth, so we’re hoping the extra warmth will help it thrive and produce better in the years ahead.
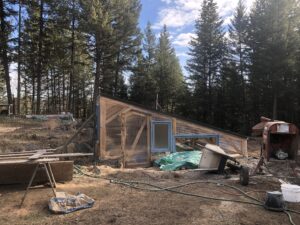
Building the Frame and Roof
As you can see in the early construction photos, the walls and roof started going up just before the snow arrived. Getting the roof on before winter was a priority so we could work more comfortably on installing the windows and building the interior rock beds through the colder months.
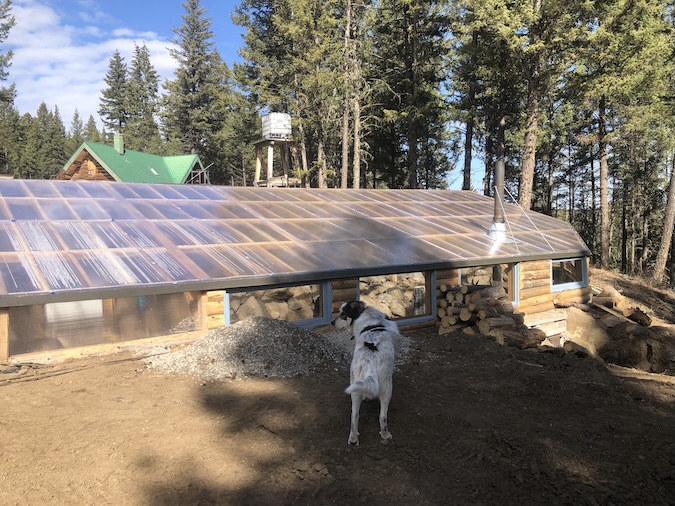
The greenhouse measures about 16′ × 40′, which gives us plenty of room to grow a wide variety of plants. I’ll be using raised rock beds, garden boxes, and potted plants to make the most of every inch.
Scott is already planning a small water feature at one end, and there will definitely be a cozy spot to sit back and enjoy a cup of coffee—or maybe something stronger—after a long day in the garden.


From Fall to Winter
By late fall, we’d made great progress. Thanks to the wood stove we installed, we were able to stay warm while finishing the windows and laying the gravel floor.
It’s been fun imagining how lush and green this space will be once it’s full of life. One friend even joked about adding a hot tub in the corner—but we’ll stick to tomatoes, herbs, and hanging baskets for now.
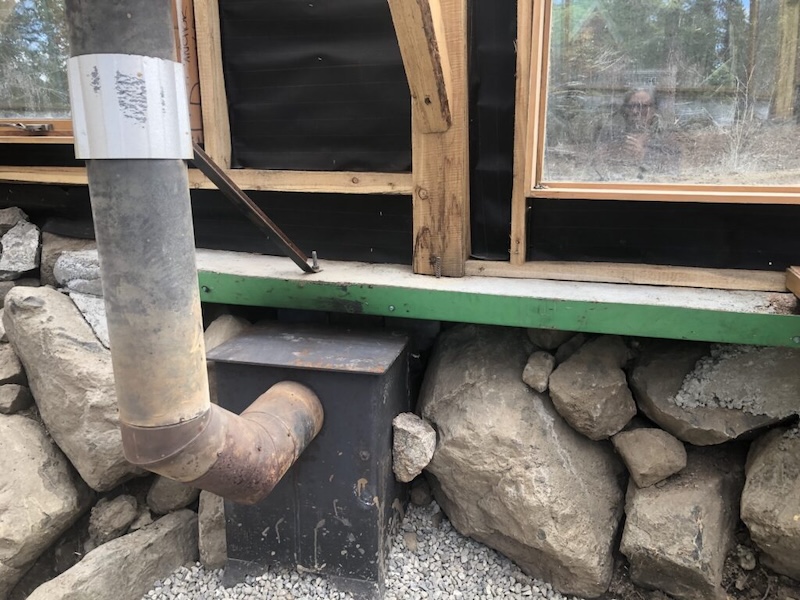
Reusing and Repurposing Materials
This greenhouse really reflects our off-grid lifestyle and our commitment to reusing what we already have.
The wood stove came from our cabin after we replaced it with a smaller one, and the concrete mantel above it was poured using metal salvaged from a C-can (shipping container). We even reused the door panel cut out from that same C-can as part of the build.
The windows were generously donated by a neighbor who replaced his, and most of the wood was milled from cedar logs I received in trade for bookkeeping work.
In the end, we only had to purchase a few essentials—insulated stove pipe, gravel, and roofing material—which proves that a functional, sustainable greenhouse doesn’t have to be expensive.
I did order two large solar grow lights, which will be placed over a shelf that will be built for starting plants. Pictures will be posted on the website and or face book page once I have them up.
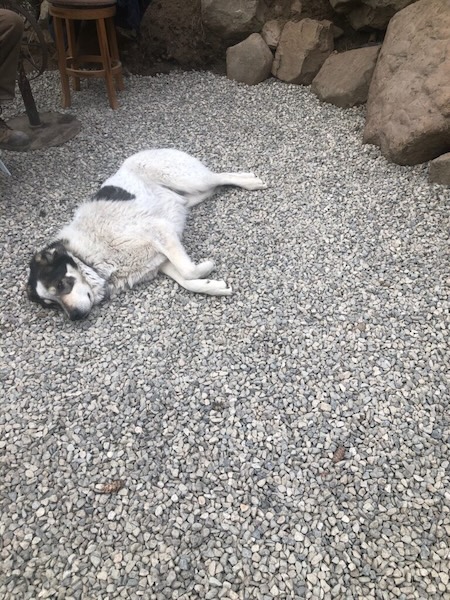
The gravel is in and our helper is having a nap. Stay posted for more pictures and info as I get this greenhouse planted.
Lighting and Future Plans
I ordered two large solar grow lights, which will be hung over a shelf built specifically for starting seedlings in early spring. Once everything is set up, I’ll share more photos here and on the Facebook page.
The ceiling beams are made from thick, milled cedar and are strong enough to hold hanging baskets, which I plan to start in spring. For now, the gravel is in, the wood stove is burning, and our furry helper is happily napping after a day’s work.
Solar Grow Lights Update
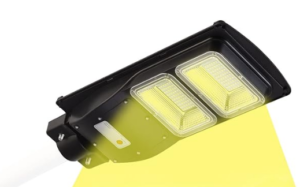
This is the full-spectrum solar grow light I ordered, and it has honestly been a game changer. It’s far brighter than I expected, inexpensive, and worked so well that I ordered a second one. I now have one installed at each end of the greenhouse.
I’ll continue to share how these lights perform as the growing season gets underway, along with more photos as everything gets planted and growing.
Stay tuned—this greenhouse is just getting started.
Heres the link Full Spectrum Solar Grow Lights
Disclosure:
Content on this site is for informational purposes only and reflects personal experience and research. Gardening results can vary based on climate, soil, and growing conditions. Some links may be affiliate links, which help support this site at no additional cost to you.
Updated Feb 2026
© 2024 – 2026, Teresa. All rights reserved.
It’s amazing to see how much thought and creativity went into building your underground greenhouse! I love how you’ve repurposed so many materials, from the windows to the metal from the C-can and even the cedar logs from bookkeeping work. It not only keeps costs down but also gives the project a unique, sustainable touch. I imagine the warmth of the wood stove will make it a cozy retreat during the colder months too. I’d love to hear more about how the grapevine thrives once it’s inside the greenhouse—it sounds like a great way to extend your growing season!
Hi Jonelle, yes this was our first year. I was able to grow canteloupe and watermelon when normally our growing season is not long enough. Our grandkids planted some beans when they were visiting in Aug and low and behold we have little beans starting. It’s a work in progress, but I’m sure it will help with the grocery bill 🙂